How to Reduce Grow Light Electricity Cost with Dimming
Lighting is one of the largest operating costs in a controlled environment facility, and dimming is the most frequently recommended way to reduce it. Dimming does work, but only on one of the three variables that set the bill. Knowing which variable you are actually changing is what separates a real saving from a smaller harvest.
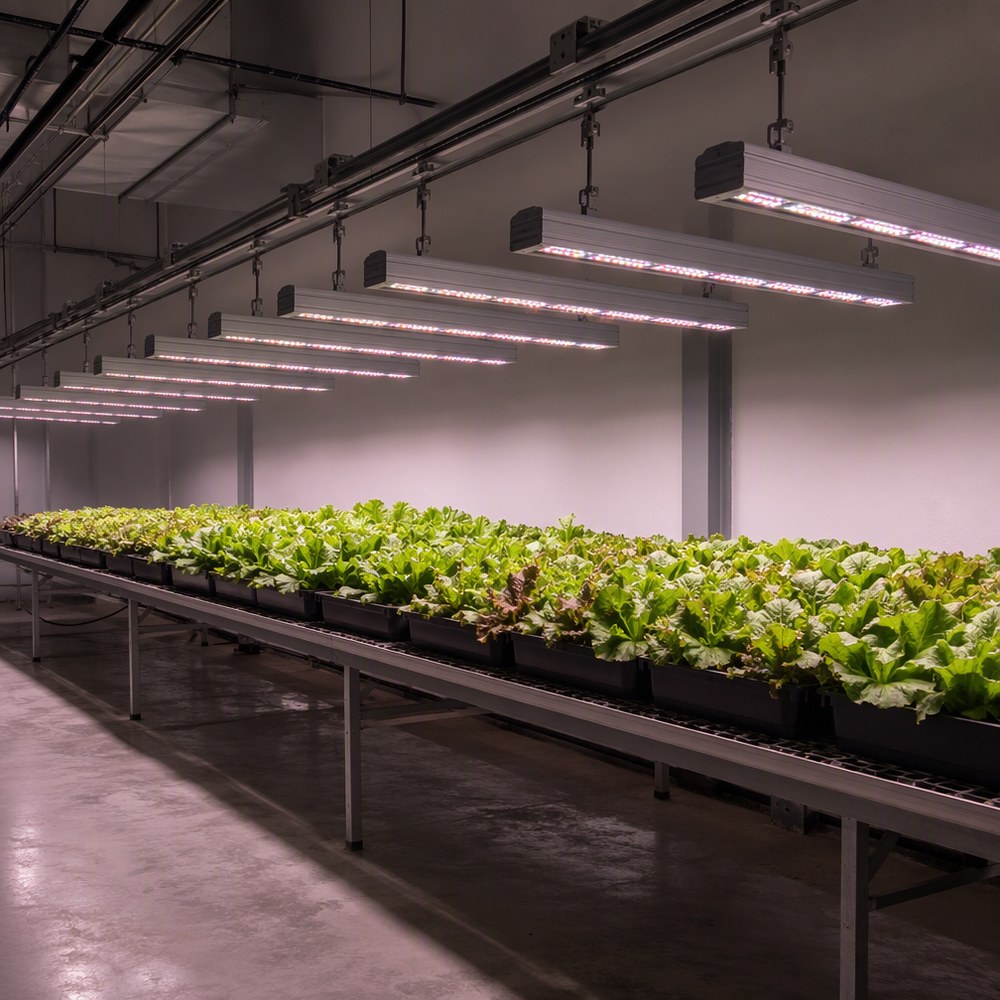
Where the electricity actually goes
Every kilowatt-hour consumed by a grow light leaves the fixture in two forms: photons in the 400 to 700 nm band, and heat. The ratio between them is the fixture's photosynthetic photon efficacy, expressed in micromoles of photons per joule of electrical energy. The DesignLights Consortium's terminology guide defines it exactly that way, as a measure of how efficiently a fixture converts electrical power into photons in the range of interest.
That single number has moved substantially. Under Horticultural Technical Requirements V4.0, effective 18 April 2025, the minimum efficacy for a listed LED horticultural fixture is 2.5 µmol/J, an 8.7 per cent increase over the V3.0 threshold. The DLC states that this places the LED threshold more than 45 per cent above the most efficacious non-LED option, the 1000 W double-ended high pressure sodium luminaire, and that the increase delists the least efficacious V3.0 products, roughly 11 per cent of the qualified products list. Average efficacy across listed products has risen 24.9 per cent since the programme's first version.
The DLC also cites a 2020 US Department of Energy report projecting a 34 per cent reduction in electricity consumption and $350 million in savings from the shift to LED agricultural lighting. Those figures describe the technology transition, not what any single facility will save by turning a knob.
The cost formula, and the three variables in it
The arithmetic is short enough to do on one line:
annual cost = fixture power (kW) × hours per day × days per year × tariff
Three things can move: the power the fixture draws, the hours it runs, and the price per kilowatt-hour. Dimming touches the first. Scheduling touches the second. Only procurement, retrofits or a change of tariff touches the third. A dimming strategy that ignores the other two is working on a third of the problem.
What dimming actually changes
On a constant-current driver, dimming reduces the current delivered to the LED string. Input power falls with it, roughly in proportion for analogue and PWM control. That is the saving, and it is real.
What does not follow is that light output falls by the same percentage. Two effects work against you at low settings. First, LED efficacy itself varies with drive current, so the µmol/J figure measured at full load is not the figure at 20 per cent load. Second, driver efficiency typically peaks in the middle of its range and falls at both extremes, so a fixture idling at 10 per cent may convert a smaller share of its input into photons than the datasheet suggests. Neither effect is large in the 60 to 100 per cent band, which is where most commercial dimming happens. Both become significant if you plan to run fixtures far below half power for long periods.
A worked comparison at four dimming levels
The table below uses one 600 W fixture running 12 hours a day, 365 days a year, at a tariff of $0.15 per kWh. Power at each dimming level is taken as proportional to the setting, which is the behaviour of a constant-current driver over its normal range. Your own driver datasheet should replace that assumption before you commit to a number.
| Dimming level | Fixture power | Annual energy | Annual cost | Energy saved vs full output |
|---|---|---|---|---|
| 100 per cent | 600 W | 2,628 kWh | $394 | none |
| 80 per cent | 480 W | 2,102 kWh | $315 | 20 per cent |
| 60 per cent | 360 W | 1,577 kWh | $237 | 40 per cent |
| 40 per cent | 240 W | 1,051 kWh | $158 | 60 per cent |
The saving is linear, which is the appeal. The cost is also linear: at 60 per cent output this fixture delivers roughly 60 per cent of its photons, so the crop gets less light unless the schedule or the planted area changes to compensate. Dimming is a way to match supply to demand, not a way to get the same growth for less energy.
Scheduling: fewer hours without losing DLI
Daily light integral is the product of PPFD and photoperiod, and it is the quantity most crops actually respond to:
DLI (mol/m²/day) = PPFD (µmol/m²/s) × hours × 0.0036
A canopy receiving 400 µmol/m²/s for 18 hours accumulates 400 × 18 × 0.0036 = 25.9 mol/m²/day. The same DLI can be reached at 514 µmol/m²/s over 14 hours, or at 360 µmol/m²/s over 20 hours. Since energy is proportional to power multiplied by hours, the 20-hour option costs more, and the 14-hour option costs less, for the same daily light. Where a crop tolerates a shorter photoperiod at higher intensity, shortening the schedule is usually the cheaper route to the same DLI.
Two constraints limit that trade. Long photoperiods are sometimes used deliberately for photoperiodic control, where hours rather than DLI drive flowering. And at high intensity, leaf temperature and light saturation can make additional PPFD less productive than additional hours. Neither constraint is visible in the electricity bill, which is why the schedule should be set by the crop and then optimised for energy, not the other way round.
Sizing the fixture to the job
Efficacy and area interact, and it is worth running the numbers before choosing hardware. A fixture rated at the V4.0 minimum of 2.5 µmol/J and drawing 600 W delivers about 1,500 µmol/s of photon flux. Spread over 3.75 m², that is 400 µmol/m²/s at canopy level. The same fixture over 5 m² would deliver 300 µmol/m²/s. Either could be correct, depending on the crop, but only one of them is correct for a given target, and a fixture that is oversized for its area will be dimmed for its whole service life.
Six measures, ranked by what they actually save
- Buy efficacy first. Moving from a 1.7 µmol/J fixture to a 2.5 µmol/J fixture cuts energy by roughly 32 per cent for the same photon output, before any control strategy is applied.
- Right-size the fixture to the canopy. An oversized fixture that runs dimmed forever was the wrong purchase; the capital cost is already sunk and the dimming only recovers part of the operating penalty.
- Trim the photoperiod to the DLI the crop needs. Removing an hour from an 18-hour schedule is a 5.6 per cent energy reduction with no hardware cost.
- Dim during establishment and partial occupancy. Seedling and propagation stages need less light than finishing, and half-empty benches do not need full output.
- Use a controller with a schedule rather than manual adjustment. Manual dimming drifts back to full output within weeks; scheduled control does not.
- Maintain the luminaires. Dust and residue on lenses and heat sinks reduce delivered light and raise junction temperature, both of which erode the efficacy you paid for.
For the measurement side of the same problem, including how to verify that dimming has not created hot and dark zones across a bench, see the canopy uniformity measurement method and the other technical articles and guides.
Frequently asked questions
Does dimming always reduce electricity use proportionally?
For a constant-current driver using analogue or PWM dimming, input power falls roughly in step with the dimming level, so a 60 per cent setting uses close to 60 per cent of full-load power. Light output need not fall by exactly the same proportion, and driver efficiency at very low load often drops. Check the driver datasheet rather than assuming a straight line.
Is it cheaper to dim or to shorten the photoperiod?
Both save energy, but they act on different terms. Dimming reduces instantaneous power; shortening the photoperiod reduces hours. Because daily light integral is PPFD multiplied by hours, cutting either one reduces the light the crop receives. Dimming during low-demand hours, such as the first and last hour of a photoperiod, usually costs the crop less than removing an hour of full-intensity light.
Do dimmers work with all LED drivers?
No. A driver must be explicitly rated for the control method in use, whether that is 0-10 V, DALI, PWM or a proprietary protocol. A fixture rated as dimmable by phase-cut will not respond correctly to a 0-10 V controller, and mixing the two on one circuit produces flicker, dropouts or no response at all. Confirm the control interface before ordering controllers.
How much can a controller save in a commercial grow room?
Savings come from avoiding full output when it is not needed: during seedling establishment, at the start and end of a photoperiod, and on benches that are only partly planted. The size of the saving depends on how much of the schedule can run below full power, so it has to be calculated from your own dimming profile rather than taken from a general figure.
About the publisher
XineLam is an LED lighting manufacturer with 17 years of experience and 300+ patents in China and internationally. The company designs and produces horticultural LED fixtures and dimmable LED drivers for greenhouse, indoor farm and vertical cultivation applications. Figures in this article are worked examples with stated assumptions; actual consumption depends on the driver, the controller and the tariff in use.
Sources
- DesignLights Consortium, Horticultural Technical Requirements V4.0, effective 18 April 2025. Minimum PPE of 2.5 µmol/J, an 8.7 per cent increase over V3.0 and more than 45 per cent above a 1000 W double-ended HPS luminaire; average listed efficacy up 24.9 per cent since V1.0.
- US Department of Energy, SSL adoption in agriculture (2020), as cited by the DLC. Projected 34 per cent reduction in electricity consumption and $350 million in savings.
- DesignLights Consortium, Horticultural Lighting Resources: Terms and Definitions. Definition of photosynthetic photon efficacy in µmol/J.
- Erik Runkle, Michigan State University Extension, Lighting the Way with LEDs. Notes that energy is a major production cost and that LED return on investment is most favourable where lighting is used for much of the year and electricity prices are high.